

Cleaning the Oxygen Depletion Sensor (ODS)
By Rick Keller
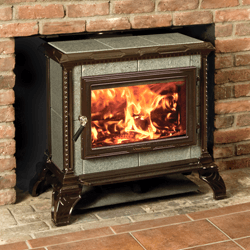
This time of year, we get a lot of calls from people who are getting ready to light the pilot on their vent free logs. Many people are simply looking for guidance on how to light the pilot, but some have already tried to light it and have run into issues. Most problems with vent free logs are tied to the Oxygen Depletion Sensor (ODS.) The ODS is a safety feature of vent free logs that automatically shuts them off if the oxygen level in the room drops too low. Cleaning the ODS will fix about 80% of all issues with vent free logs.
How to clean the ODS
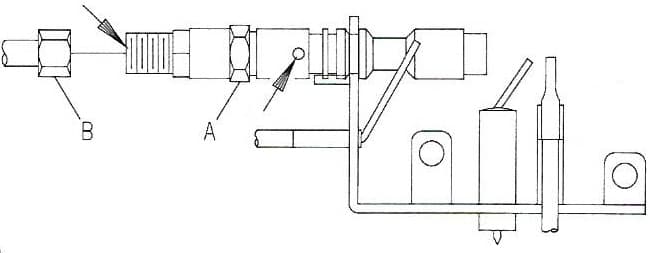
The simplest way to clean the ODS is to use a can of compressed air. If you have one available, then you should be able to blow air through the holes indicated below, without needing to loosen the nuts. If this does not work, then you should first use an open end wrench to grasp Nut A. Next, loosen Nut B from the pilot tubing. Once you have removed Nut B, blow air pressure through the holes indicated by the arrows in the diagram below. Doing this will blow out foreign materials, such as dust, lint, and spider webs. Once you have completed that, use the wrench to grasp Nut A and then replace Nut B on the pilot tubing and tighten by hand.
Lighting the Pilot
Before you light the pilot, make sure that you smell all around the logs for gas, including around the floor, as some gas is heavier than air and will settle. If you smell gas, call your gas supplier immediately, and do not try to light any appliance. If you do not smell gas, follow the steps below to light the pilot:
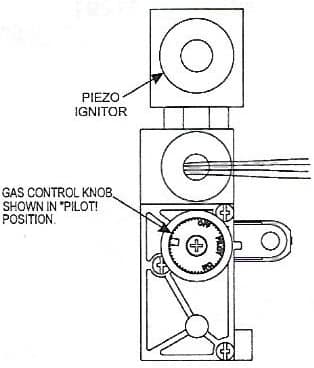
- Push in the gas control knob slightly and turn clockwise to the OFF position. Use only your hand to turn and do not try to force it.
- Turn the gas flow adjustment knob clockwise (either manually or with remote control) to the OFF position.
- Wait 10 minutes to clear out any gas, and then smell around the logs, including near the floor. If you smell any gas, immediately call your gas supplier or the fire department. If you do not smell gas, proceed to the next step.
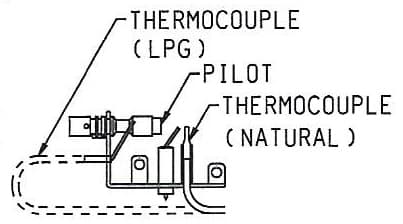
- Follow the metal tube from the gas control to find the pilot. The pilot is located behind the second log on the right side.
- Turn the gas control knob counterclockwise to PILOT position.
- Push in the control knob all the way and hold. Then immediately light the pilot with a pilot ignitor or match. Continue to hold in the control knob for at least one minute after the pilot is lit, then release the knob. If the knob does not pop up, call your gas supplier or a qualified service technician. If the pilot will not stay lit, repeat this step. Otherwise, proceed to step 7.
- Turn the gas control knob counterclockwise to the ON position.